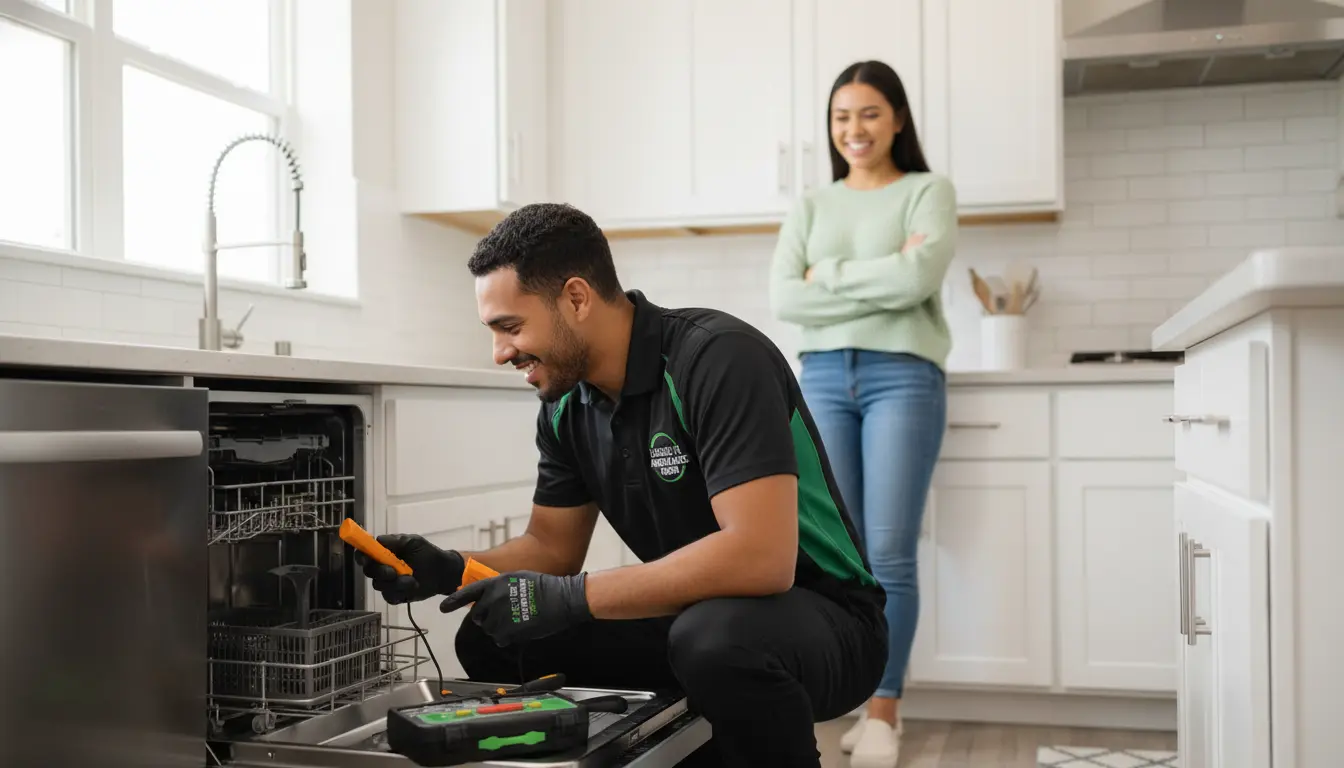
Laura finished folding the last of three loads, but the damp, heavy scent clinging to the clothes told her the dryer had lost its fight. The machine tumbled, heat blew, but an hour later every towel still felt like it had been hung in a fog bank. She checked the lint screen—clean. She checked the vent hose—warm but not hot. What she could not check, without pulling the machine away from the wall and breaking out a multimeter, was whether the heating element had failed or the high-limit thermostat had tripped. That moment—when a familiar hum turns into a fruitless cycle—is exactly when homeowners in League City face a choice: guess and spend, or diagnose and solve.
The Gulf Coast environment does not treat clothes dryers kindly. Saline humidity from Galveston Bay accelerates thermal degradation of electrical terminals, and the hard water common in League City municipal supplies leaves mineral scaling inside moisture sensor bars, tricking the machine into running cold cycles long after clothes are dry. Recognizing common dryer problems and when to call a repair expert is not just about convenience; it is about preventing small failures from cascading into electrical shorts, control board fires, or seized drum bearings. A professional assessment, grounded in NASTeC-compliant diagnostic protocols, transforms guesswork into a precise, cost-effective repair plan.
Why Moisture Sensor Failures Mimic Heating Element Burnouts
The most frequent complaint we see at League City Appliance Repair is a dryer that runs but never fully dries clothes. Nine times out of ten, the first guess is a dead heating element. While elements do fail—typically from thermal fatigue or a shorted coil—the moisture sensor system is equally, if not more, susceptible to local water chemistry. League City tap water carries dissolved calcium and magnesium ions that, over months of use, build a microscopic layer of scale on the metal sensor bars inside the drum. That scale acts as an electrical insulator, so the control board never receives the low-voltage signal that says “clothes are dry.” The machine keeps heating, often past the point of necessary energy consumption, until the high-limit thermostat trips or the thermal fuse blows.
Professional diagnostics begin with a continuity verification of the heating element using a digital multimeter set to the ohms scale. A healthy element typically reads between 10 and 50 ohms, depending on the manufacturer. An open circuit—an infinite reading—confirms a broken coil. If the element checks out, the technician then performs an ohm test on both the cycling thermostat and the high-limit thermostat. After those pass, the sensor bars are examined. A handheld multimeter on the conductive scale can reveal whether resistance across the bars exceeds 100 kilo-ohms, which indicates scale interference. Cleaning the bars with a fine abrasive pad restores conductivity, but if the scale has etched the metal surface permanently, the entire sensor assembly requires replacement. Skipping this diagnostic step leads homeowners to replace heating elements unnecessarily, racking up parts costs without solving the root issue.
Coastal Air Corrosion and Electrical Terminal Degradation
Salt-laden air along the League City coastline infiltrates homes through windows, doors, and even dryer vent openings. Over time, airborne chlorides settle on the electrical terminals inside the dryer’s junction block, terminal strip, and control board connectors. This corrosion increases contact resistance at every joint, generating localized heat hotspots that can melt plastic connectors or cause intermittent power loss to the motor, heater relay, or electronic display. The symptom feels like a failing board—random drum stoppages, display flickering, or a cycle that cuts off mid-run—but the true culprit is often a cable tie crimp that has turned green and brittle.
I once diagnosed a unit that had been condemned by three previous technicians who insisted the main control board needed replacement. The owner was prepared to spend $450 on a new board. A fifteen-minute visual inspection revealed a corroded neutral terminal at the house-side cord connection. The resistance spike was causing voltage drops across the board’s power supply capacitors. After cleaning the terminal, applying a corrosion-inhibiting dielectric compound, and torqueing the connection to manufacturer specifications, the dryer resumed perfect operation. This level of component-level precision—rather than wholesale sub-assembly swapping—is what separates a certified repair from a part-swapping service.
Vent Blockage: The Overlooked Cause of Overheating and Fire Risk
When a dryer shuts off mid-cycle or the clothes come out scorching hot, many homeowners immediately assume the thermostat is defective. While thermostats do fail, the far more common cause is a restricted exhaust pathway that prevents proper airflow. The dryer vent cleaning process is not a cosmetic add-on; it is a critical safety and performance measure. Lint accumulation in the duct reduces airflow velocity, causing the heating element to stay energized longer to reach the temperature setpoint, which cycles the high-limit thermostat repeatedly until it fatigues open permanently.
Professional Component-Level Repair vs. Complete Sub-Assembly Replacement
One of the most important decisions in any repair call is whether to repair at the component level or replace the entire sub-assembly. The table below, based on NASTeC Core Appliance Service Reference Standard guidelines, outlines the trade-offs.
| Feature/Metric | Professional Component-Level Repair | Complete Sub-Assembly Replacement |
|---|---|---|
| Diagnostic Time | 45–90 minutes, including multimeter checks, continuity verification, and voltage-drop analysis | 15–30 minutes, limited to verifying that the sub-assembly is non-functional |
| Part Longevity | Restores original OEM lifespan when failed components (e.g., relay, thermal fuse, capacitor) are replaced individually | Dependent on the quality of the replacement assembly; aftermarket units often have lower thermal tolerance |
| Structural Cost | Lower—typically 30–50 percent less than full-assembly cost, especially for heating elements, thermostats, and sensor bars | Higher—OEM control boards range from $200 to $600; drum roller kits cost $120–$250 |
| Environmental Impact | Reduces electronic waste by keeping functional assemblies in service | Generates more waste, though failed assemblies can be recycled through certified e-waste programs |
| Skill Requirement | Requires advanced electrical troubleshooting, soldering capability, and OEM wiring diagram interpretation | Can be performed by technicians with intermediate skills using plug-and-play connectors |
Source: NASTeC Core Appliance Service Reference Standard
Expert Diagnostic Insights for League City Homeowners
Measure Voltage Drop at the Terminal Block, Not Just at the Wall Outlet
A wall outlet reading 120 volts does not guarantee that the dryer’s internal terminal block receives the same voltage. Loose connections, corroded terminals, or long aluminum wire runs common in older League City homes can create voltage drops of 5 to 15 volts under load. When the heating element or motor draws current, the available voltage at the terminal block may dip below 110 volts, causing weak heat or intermittent motor operation. A professional uses a clamp-on ammeter and a digital multimeter simultaneously—one measuring current, one measuring voltage—to compute the actual voltage drop percentage. Anything above 5 percent indicates a wiring fault that needs immediate correction to prevent overheating at the connection point.
Test the Thermal Fuse Using Resistance Scale, Not Visual Inspection
Many thermal fuses blow at temperatures as low as 198 degrees Fahrenheit, and they can rupture internally without any visible cracking or discoloration. Homeowners often check continuity with a simple continuity beeper, but a resistive measurement—anything above 0.5 ohms on a normally closed fuse—indicates early thermal fatigue. Replacing a marginal fuse before it fails outright prevents nuisance mid-cycle shutdowns. This technique is especially relevant for gas dryers, where a blown thermal fuse also disables the gas valve solenoid, making the machine appear dead entirely.
Check the Motor Capacitor If the Drum Won’t Rotate
A humming dryer that refuses to spin rarely has a seized motor; it usually has a failed run capacitor. The capacitor stores the initial surge of current needed to start the motor’s rotation. When it fails, the motor hums but stalls. Using a digital capacitance meter, a technician can verify whether the capacitor’s microfarad rating is within the manufacturer’s tolerance—typically plus or minus 10 percent. A replacement capacitor costs under $20 and takes ten minutes to install, whereas replacing the entire motor runs $150 to $300. Component-level repair again saves the homeowner significant expense.
Common Mistakes That Worsen Dryer Problems
One of the most damaging actions a homeowner can take is using chemical drain cleaners or bleach-based sprays on the dryer’s moisture sensor bars. These chemicals etch the metallic surface, permanently reducing its conductivity and causing the control board to misinterpret moisture levels. The result is a dryer that either runs too long or stops prematurely, depending on the board’s logic.
Another frequent error is overloading the drum. Stuffing wet comforters or large bath sheets into a full drum places excessive lateral force on the front and rear drum bearings. Over time, the bearings develop lateral play, causing the drum to rub against the front bulkhead. The friction generates heat, melts plastic glides, and often leads to a squealing noise that homeowners mistake for a belt issue. Replacing an entire bearing and glide kit is a two-hour job, whereas simply respecting the manufacturer’s load capacity—usually three-quarters full with room for tumbling—extends the life of these components indefinitely.
Realistic Pricing for Dryer Repair in League City
- Standard diagnostic trip fee: $75 to $125, depending on the technician’s certification level and the distance from League City’s service hub. This fee is typically waived if the homeowner proceeds with the repair.
- Tiered repair rates: Simple component swaps like thermal fuses, drive belts, or moisture sensor bars run $120 to $200, including parts and labor. Mid-complexity repairs—such as heating element replacement or motor capacitor service—range from $180 to $300. Complex sealed-system repairs involving refrigerant recovery and recharge for heat pump dryers start at $400.
- Flat-rate structural pricing: Drum roller and glide kit replacements are commonly priced at $250 to $350, while control board replacement with OEM parts and firmware flashing sits between $400 and $700.
Three factors heavily influence these prices. First, premium luxury brand OEM parts—such as those sold by Miele, Bosch, or LG—cost two to three times more than generic aftermarket equivalents, but they include manufacturer warranty coverage and calibrated performance. Second, advanced electronic control module flashing requires proprietary diagnostic software and manufacturer-specific interfaces, adding labor time for initial firmware downloads and update verification. Third, physical accessibility matters: built-in units with stacked washer/dryer configurations or custom coastal kitchen layouts with restrictive clearance force technicians to disassemble cabinetry or remove adjacent counters, increasing labor by 30 to 60 minutes.
Safety Standards and Certifications That Protect Your Home
All repairs performed by League City Appliance Repair technicians adhere to EPA Section 608 regulations when handling refrigerants in heat pump dryers, NASTeC guidelines for electrical safety, and OSHA 29 CFR 1910 Subpart S standards for energized electrical work. These are not optional checkboxes; they are protocols that prevent high-voltage electrical short circuits, eliminate fire hazards from improper ventilation reconnections, and maintain manufacturer warranty compliance. For example, when a technician replaces a heating element, he or she must verify the terminal block torque specification—usually 45 to 55 inch-pounds—to prevent loose connections that cause overheating. Using dielectric grease on every electrical connector in a coastal environment adds another layer of corrosion resistance that non-certified services skip.
Q: How often should I have my dryer vent professionally cleaned in League City?
A: Professionally cleaning your dryer vent every 12 to 18 months is the minimum recommended interval for Gulf Coast homes. However, if you have a long vent run—over 25 feet—or a two-story configuration where the vent exits through the roof, annual cleaning is safer. The coastal salt air and high humidity accelerate the compaction of lint into a hard, moisture-retaining mass that restricts airflow more quickly than in inland climates. Professional cleaning not only restores airflow to manufacturer specifications but also removes any accumulated moisture that promotes mold growth inside the duct.
Q: Why does my dryer stop in the middle of a cycle, but restart after I open and close the door?
A: This symptom almost always points to a failing door switch assembly. The door switch sends a low-voltage signal to the control board indicating that the door is closed. When the switch’s internal contact points corrode—common in coastal environments—they develop high resistance, causing the control board to interpret an open door intermittently. Opening and closing the door manually scrapes the contacts together, restoring continuity temporarily. Replacing the switch assembly is a straightforward repair that prevents the nuisance shutdowns. A continuity test with a multimeter will confirm the intermittent failure.
Q: Is it worth repairing a dryer that is more than ten years old?
A: That depends on the nature of the failure. If the drum bearings have worn out, the drum rollers are cracked, and the belt is frayed, a full drivetrain overhaul costs $350 to $500. If the dryer is a basic, top-loading model with no electronic display, that investment often exceeds the machine’s remaining value—around $300 to $400 for an older unit. However, if the machine is a higher-end model with stainless steel drum and electronic controls, replacing the drivetrain can extend its life another five to seven years. A diagnostic assessment that includes checking the control board for corrosion and the motor for bearing wear will provide a cost-to-value calculation.
Q: What does it mean when my dryer’s exterior feels hot to the touch during operation?
A: A properly functioning dryer will have warm exterior panels, but if they become uncomfortably hot—above 130 degrees Fahrenheit—it indicates restricted airflow inside the machine. The most common cause is a secondary lint screen that is clogged, a loose drum seal that allows hot exhaust to recirculate, or a blower wheel that has lost vanes. Immediately stop the cycle and unplug the dryer. A technician can measure the exhaust temperature at the vent hood with a thermocouple; if it exceeds the manufacturer’s maximum—typically 160 degrees Fahrenheit—the restriction must be cleared before resuming use. Operating a dryer with restricted airflow creates a fire risk.
Professional Appliance Care in League City
Every dryer problem—whether it is a failed heating element, a clogged vent, or a corroded control board terminal—tells a story about the local environment and the wear patterns unique to Gulf Coast living. Addressing these issues early, with professional diagnostic rigor, saves homeowners in League City hundreds of dollars in unnecessary part replacements and prevents the kind of emergency breakdowns that occur during the busiest laundry days. League City Appliance Repair provides certified, NASTeC-compliant service that treats each machine as an integrated electromechanical system, not a collection of replaceable parts. When the clothes come out damp and the cycle feels wrong, there is good reason to call the team that understands exactly what the machine is trying to say.