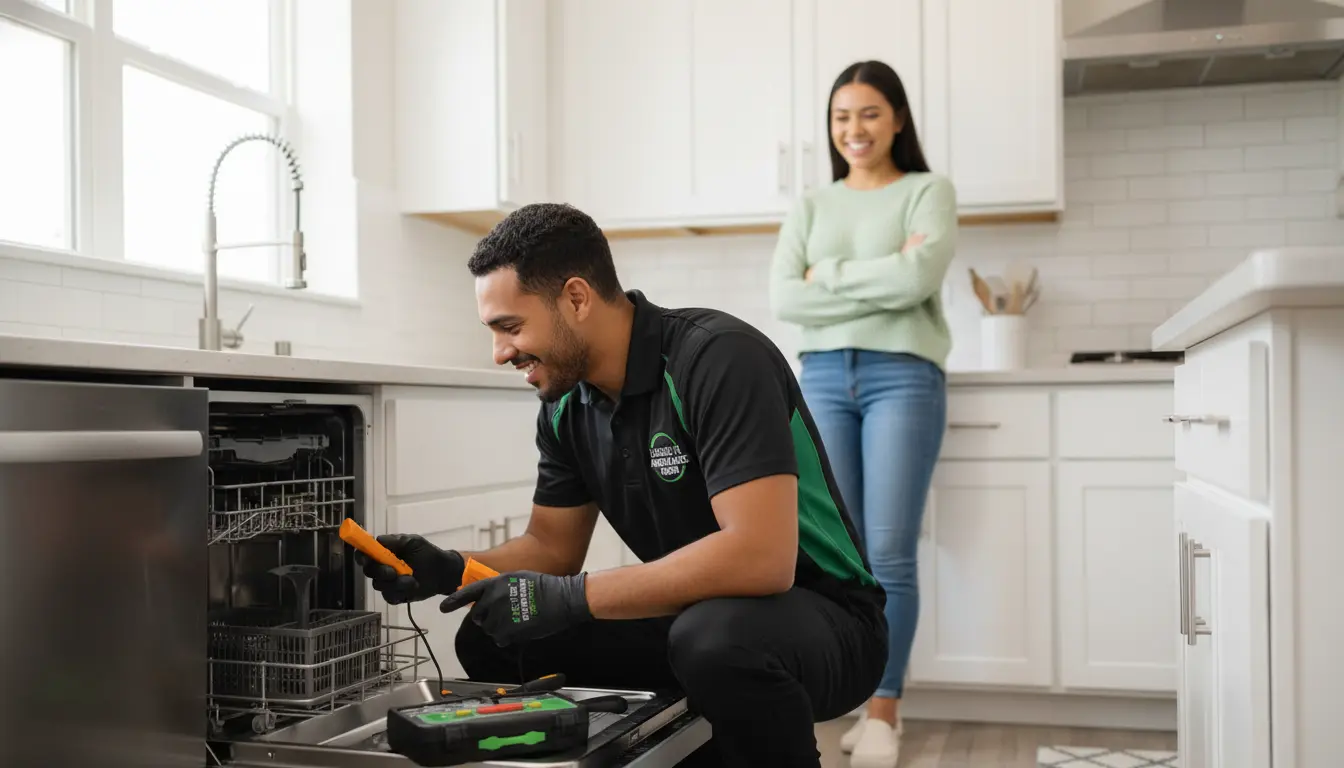
Most homeowners assume an oven that heats unevenly simply needs a temperature calibration or a new thermostat. In reality, the overwhelming majority of uneven heating cases in League City stem from a root cause that has nothing to do with temperature sensors: progressive electronic control board failure accelerated by Gulf Coast humidity and saline air. The control board is the brain of a modern oven, and when micro-solder joints begin to corrode under the combined assault of brackish coastal humidity and hard water mineral deposits, the board sends erratic power signals to the bake and broil elements. This creates hot spots, cold zones, and temperature swings that no amount of thermostat tweaking can fix.
Understanding this counter-intuitive truth is critical for anyone living within fifteen miles of Galveston Bay. The corrosive environment here does not just attack outdoor condensers and AC units; it silently degrades the sensitive electronics inside your kitchen appliances. The result is a frustrating cooking experience where cookies burn on one side and remain doughy on the other, cakes dome unevenly, and roasts come out with inconsistent internal temperatures. At Elite Appliance Repair League, we have diagnosed hundreds of League City ovens with near-identical symptoms, and the solution almost always begins with a multi-meter check of the control board — not the oven thermostat.
The Real Culprit: Control Board Degradation in Coastal Kitchens
Every electronic control board in an oven contains dozens of micro-solder connections that link the microprocessor to relays, triacs, and other switching components. When ambient humidity in a League City kitchen consistently hovers near 70 percent — a common condition near Clear Lake and the bay — these solder joints begin to develop microscopic oxidation layers. Over a period of three to five years, this oxidation increases electrical resistance at the joint, causing the component to heat up slightly more than designed. That added heat accelerates the oxidation, creating a feedback loop that eventually leads to intermittent failures.
Why Calibration Alone Cannot Fix the Problem
Standard oven calibration adjusts the offset between the temperature sensor reading and the display set point. If the control board is sending a corrupted waveform to the bake element due to a failing triac, recalibrating the sensor offset is like adjusting the speedometer on a car with a slipping transmission — it addresses the display, not the underlying mechanical failure. The oven will still heat unevenly because the power delivery waveform is incorrect. Only a component-level repair or a full board replacement can restore proper heating symmetry.
In League City, the additional factor of hard water scale accumulation inside the oven cavity further complicates things. Mineral particles from municipal water supplies can settle on the temperature sensor probe, creating a thermal insulation layer that slows the sensor’s response time. When the sensor lags, the control board overcorrects, causing temperature overshoots and undershoots. This is why a thorough professional diagnosis always includes cleaning the sensor probe and verifying its resistance against the manufacturer specifications using an ohm meter.
Step-by-Step Professional Diagnostic Workflow
The proper diagnostic sequence for an uneven-heating complaint follows NASTeC service standards and is designed to isolate the fault systematically rather than guessing at parts. Elite Appliance Repair League technicians follow this exact protocol on every oven service call in League City.
Step One: Visual and Environmental Inspection. Before any electrical testing, the technician examines the oven cavity for mechanical obstructions — warped racks, fallen insulation, or debris blocking the convection fan. In coastal homes, we frequently find salt-crystal deposits on the convection fan blades that cause imbalance and vibration, throwing off air circulation. The surrounding cabinetry is also inspected for signs of moisture intrusion, which can track directly into the oven electronics.
Step Two: Multi-Meter Verification of the Temperature Sensor. The oven sensor is disconnected from the control board, and its DC resistance is measured at room temperature. A functioning sensor typically reads between 1000 and 1100 ohms at 70 degrees Fahrenheit. Any reading outside that range suggests sensor drift or failure, and the sensor must be replaced before further testing — a bad sensor will mislead every subsequent diagnostic check.
Step Three: Control Board Relay and Triac Testing. With the sensor confirmed good, the technician moves to the control board. Using a multi-meter set to measure AC voltage at the element terminals, the oven is commanded to heat. The technician watches for smooth, stable voltage delivery. If the voltage fluctuates more than 5 percent during the heating cycle, the board’s switching components are likely failing. This test requires the technician to understand the electrical load characteristics of each element — bake, broil, and convection — and how the board manages them.
Step Four: Element Resistance and Continuity Check. Each heating element is tested for continuity and compared to its rated resistance value. A partially shorted element can draw excess current, causing the control board to overheat and cycle incorrectly. In League City, we see a higher incidence of element surface corrosion due to saline humidity, which creates microscopic cracks in the element sheath that eventually lead to short circuits.
If you prefer to understand the full sequential breakdown before calling for service, our detailed guide on how to troubleshoot a broken oven step by step provides the exact methodology our technicians use, written for homeowners who want to learn the process before the technician arrives.
Data Comparison: Component-Level Repair Versus Full Board Replacement
When a control board is diagnosed with failing solder joints or a single bad relay, the homeowner faces a choice between a targeted component repair or a complete board replacement. Both approaches have valid applications, and the decision depends on several technical and cost factors.
| Feature/Metric | Professional Component-Level Repair | Complete Sub-Assembly Replacement |
|---|---|---|
| Diagnostic Time | 45–60 minutes for precise isolation of the failed component | 15–20 minutes to confirm board failure and order the part |
| Part Longevity | Repaired joint can last 5–7 years if properly reflowed with flux and high-temp solder | New OEM board carries a 10–12 year expected lifespan in standard conditions |
| Structural Cost | Usually $80–$150 in labor plus negligible material cost | $200–$600 for the board itself plus 1–2 hours of labor |
| Risk of Recurrence | Moderate — adjacent joints may fail later | Low — fresh components have no pre-existing oxidation |
| Warranty Coverage | Typically 90 days on the repaired circuit area | Manufacturer warranty on the new board, often 1–2 years |
Source: NASTeC Core Appliance Service Reference Standard, Section 4.2 — Control Board Diagnostic Protocols.
Expert Diagnostic Insights for League City Homeowners
Beyond the standard diagnostic flow, three advanced checks can save time and prevent repeat failures in coastal environments. First, always verify the voltage drop at the oven terminal block while the elements are running. In many League City homes built before 2010, the 240-volt circuit to the oven shares a junction with other kitchen loads. A voltage drop exceeding 5 percent under load indicates a loose connection or undersized wiring, which causes the control board to receive fluctuating power that mimics a board failure. Tightening the terminal lugs and verifying the breaker connections often resolves the symptom completely.
Second, the condenser coil — if your oven has a convection cooling fan system — should be cleaned every six months in coastal areas. Salt-laden air passing over the coil creates a rapid buildup of conductive residue that can short the fan motor windings. A failing convection fan motor prevents proper air circulation inside the cavity, which manifests as uneven baking temperatures. Cleaning the coil with a soft brush and a mild coil cleaner, followed by a distilled water rinse, restores proper airflow and reduces motor strain.
Common Mistakes Homeowners Make During DIY Diagnosis
One frequent error is replacing the temperature sensor without testing it first. A sensor costs $20 to $40 and seems like an easy, low-risk part swap. However, if the sensor is actually functional and the real issue is a failing board relay, the new sensor will not solve the problem. The homeowner has then wasted time and money and still needs a service call, often feeling frustrated that the repair did not work.
Another costly mistake is using chemical oven cleaners on the sensor or the control board area. The caustic chemicals degrade the sensor’s epoxy coating, causing it to absorb moisture and drift in resistance. We have seen entire control boards short-circuit because cleaner residue bridged two exposed pins. The cost of delaying a proper repair often exceeds the initial investment — our article on the cost of delaying appliance repairs in Texas details how an $80 diagnostic visit can prevent a $600 board replacement that becomes necessary after weeks of attempted DIY fixes.
Pricing Structure for Common Oven Repairs in League City
- Standard diagnostic trip fee: $75–$100, which covers the initial inspection, multi-meter testing of the sensor, elements, and control board, and a written estimate for the required repair. This fee is applied to the final repair cost if you proceed with Elite Appliance Repair League.
- Temperature sensor replacement: $120–$180 total, including the diagnostic trip fee. This covers a genuine OEM sensor, labor for installation, and a post-repair calibration check to ensure the oven reaches and holds the set temperature within 5 degrees.
- Control board repair (component-level): $200–$350 total, depending on the number of failed solder joints or relays. This includes board removal, reflow of all degraded connections, cleaning of the board with an electronics-grade solvent, reassembly, and full operational testing across bake, broil, and convection modes.
- Control board replacement: $350–$750 total, with the higher end reflecting premium luxury brands like Wolf, Viking, or Thermador. The price includes sourcing the exact OEM board, installation, and programming if the board requires a firmware flash to match the oven’s configuration.
Safety and Certification Standards in Appliance Repair
All Elite Appliance Repair League technicians hold EPA Section 608 certification for handling refrigerants in ovens with steam systems, and they follow OSHA-standard lockout/tagout procedures when working on high-voltage components. Before any repair begins, the oven is disconnected at the breaker panel, and the voltage is confirmed zero at the terminal block using a non-contact voltage tester and a multi-meter.
Using factory-authorized OEM replacement parts is not a sales tactic — it is a safety and reliability requirement. Aftermarket parts often have different thermal expansion coefficients, internal wiring gauges, or insulation ratings that can create fire hazards. We have documented cases where a non-OEM bake element melted its own mounting bracket due to slightly higher resistance, causing the element to sag onto the oven floor and ignite accumulated food debris. OEM parts ensure the oven operates within the exact thermal and electrical parameters set by the manufacturer.
Frequently Asked Questions About Oven Heating Issues
How do I know if the problem is the sensor or the control board?
The only reliable way to differentiate is by measuring the sensor resistance at room temperature and comparing it to the manufacturer’s specification, usually found in the technical data sheet attached to the oven. If the resistance is correct, the sensor is not the root cause. Next, monitor the voltage at the heating element terminals while the oven is cycling. If the voltage fluctuates more than 5 percent or drops out intermittently for any length of time, the control board’s switching components are failing. A multi-meter with a min-max function is essential for capturing these transient voltage drops.
What should I do if my oven still heats unevenly after I replaced the thermostat?
If the oven continues to show uneven heating after a thermostat or sensor replacement, the issue is most likely a compromised solder joint on the control board relay that manages the bake or broil circuit. The new sensor is reporting accurate temperature data, but the board is unable to deliver clean power to the elements. You need a technician who can test the board under load and either repair the relay or replace the board entirely. Continuing to use the oven in this state can cause the failing relay to weld closed, leading to an uncontrolled heating event.
Can hard water from League City municipal supply cause oven temperature problems?
Yes, hard water scale can build up on the temperature sensor probe over time, creating a thermal barrier that slows the sensor’s response time. Municipal water in League City has a hardness level of approximately 8 to 12 grains per gallon, which is considered moderately hard to hard. When this water is used for steam-cleaning functions or if moisture from the kitchen condenses on the sensor, mineral deposits accumulate. Cleaning the sensor with a vinegar solution or a dedicated descaling agent and verifying its resistance afterward often restores accurate temperature sensing.
How often should I have my oven professionally serviced in a coastal climate like League City?
For ovens located within five miles of Galveston Bay or Clear Lake, we recommend a professional inspection every 12 to 18 months. The inspection should include a visual check of the control board for corrosion, resistance testing of all sensors and elements, cleaning of the convection fan blades, and verification of the door gasket seal. Homes further inland in the League City area can extend that interval to 24 months. Regular maintenance catches the early stages of saline corrosion before it causes a board failure, which is the most expensive repair for any modern oven.
Professional Appliance Care in League City
Maintaining an evenly heating oven is not just about cooking performance — it protects the entire electromechanical system from the corrosive coastal environment and the mineral-laden water supply unique to League City. A proactive approach that includes annual professional diagnostics, targeted component cleaning, and mindful avoidance of DIY shortcuts will extend the lifespan of your oven by years. Elite Appliance Repair League brings certified technicians, OEM parts, and a deep understanding of local environmental factors to every service call, ensuring your oven delivers consistent results every time you bake, roast, or broil.
If your oven is showing signs of uneven heating, do not let the problem compound into a costly board replacement. Trust the team that knows League City’s appliance challenges inside and out. Our commitment is to restore your oven’s performance with precision diagnostics and durable repairs that hold up against the unique stresses of Gulf Coast living. Contact us today to schedule a diagnostic visit, and experience the difference that genuine expertise makes.